|
|
|
stupid Honeywell thermostat
Sunday, October 23 2022
I went over to the Downs Street house late this morning and resumed work on the heating zone cleavage begun yesterday. All the pipes and valves were in place, but none of the new electromechanicals had been wired up yet. I also had to bleed air from the radiators in the two apartments. To help with that, I visited Herzogs on the way to look for an appropriate tool tip for my impact wrench. It would be a square socket about an eighth of an inch across. Herzogs didn't sell many esoteric tool tip kits, and the few they had were expensive DeWalt kits with nothing in the size I needed. So then I checked over in the HVAC section of the store, and there I found several products, including air bleeders with something called a "radiator key." That seemed to be the tool I was missing.
Bleeding the air out of all the radiators was a slow process, taking something like four or five minutes per radiator. But it was great to feel the hot water rising up inside each one as it filled.
As I did some preliminary wiring, I tried to organize some of the wires to prevent confusion both today and in the future. This was particularly true of the wires coming from an existing 24 volt transformer that has been energized but unused since the new boiler was installed back in 2016. I needed those voltages to operate the two new zone valves, which would be controlled directly by thermostats (and which the boiler wouldn't actually "know" about). The idea was that the two first floor thermostats would each control their own zone valve, and if the end switches of either zone valve was thrown, that could have the effect of what had been the old thermostat calling for heat. The boiler would then turn on the first floor's circulator pump, but the hydronic fluid would only be going to the zone that had opened the valve. If both zones called for heat, both would receive it. Part of my plan for organizing the wires was to drill holes in the boiler's OSB wall-mounting board and then labeling the wires at the holes. But when I tried to drill my first hole, my Ryobi drill quickly ran out of juice, a possible consequence of using a knock-off battery I bought on eBay that uses NiCad chemistry instead of lithium. This eventually forced me to drive all the way home to get another drill, since my only Ryobi-compatible batteries not at the cabin are using that inferior chemistry. Back at the house, I got my trusty old Hitachi impact driver (designed around NiCad) as well as a 120v drill and an extension cord, just in case it failed. I figured I'd be drilling through the floor to run the thermostat cable to 1L, and I had no idea what I'd encounter doing that.
Back at Downs Street, I tried to figure out how to run the thermostat cable, and I was not liking the masss of wires stapled to a girder directly below where a drill from 1L was likely to emerge. But then I realized that an ideal place to put the thermostat was at the top of the 1L's private staircase to the basement (that's the only apartment that has one). If I did that, I'd only have to drill through the basement door casing, and I could just run the cable out of the way along the wall of the staircase (a place where many other wires and even pipes have been run). This proved to be the perfect solution, and well within the 50 feet limit of thermostat cable I'd bought.
Earlier, I'd realized that my two zone valves were not reaching their end switches when totally open. That meant the boiler would never know to turn on the circulator pump. I don't know if this was a defect of those switches, a defect of the ancient 24 volt transformer, or a defect of the wires running from the transformer to the valve motors. In any case, when I'd returned home to get the drills, I'd also gotten some small rare earth magnets and some old rubber feet from discarded electronics. Initially I tried putting the magnets on the little metal tab that pushes the end switch, but evidently it's non-ferrous, so the magnet wouldn't stick. Fortunately, though, I was able to get the rubber feet to stick, and with them there, the end-switch got triggered.
But now I had another problem: the thermostat. It was a Honeywell CT87N1001, a simple analog device that resembles the old thermostats containing mercury (though this one used a non-mercury switching system). I figured it must be a simple device that would close a switch if the dial was pointed at the low range and open it if it pointed at the high range. The instructions were shockingly terrible, telling me where to attach wires of various colors without saying what any of those terminals were for. I was the one wiring the other end, so the colors didn't mean anything (I didn't know what the colors in a thermostat wire bundle signify). Why couldn't it just tell me what terminals would be bridged when it called for heat? So then I tried testing it with a multimeter, putting the dial in various positions and testing to see what terminals were bridged. But nothing I did with the dial changed any of the bridging of any of the terminals. Could it be that this thermostat had active electronics that depended on 24v AC current in the wires in order to function? If that was the case, I was going to have to do my experiments with it wired in place. Further complicating matters was the fact that the damn thing had to be partly disassembled every time the wires were connected to different terminals, which could potentially make for a lot of disassembly (the damn thing had something like six different terminals as well as switches for unused features like fan control and air conditioning). Somehow, though, with my very first wiring attempt, I apparently wired it correctly, because at that point it immediately began controlling the zone as desired. All I had to do now was clean up; the zone had been successfully cleaved in half!
I drank another celebratory beer on the drive home and then had some nice me-time in the laboratory while Gretchen watched one of her British shows in the teevee room.

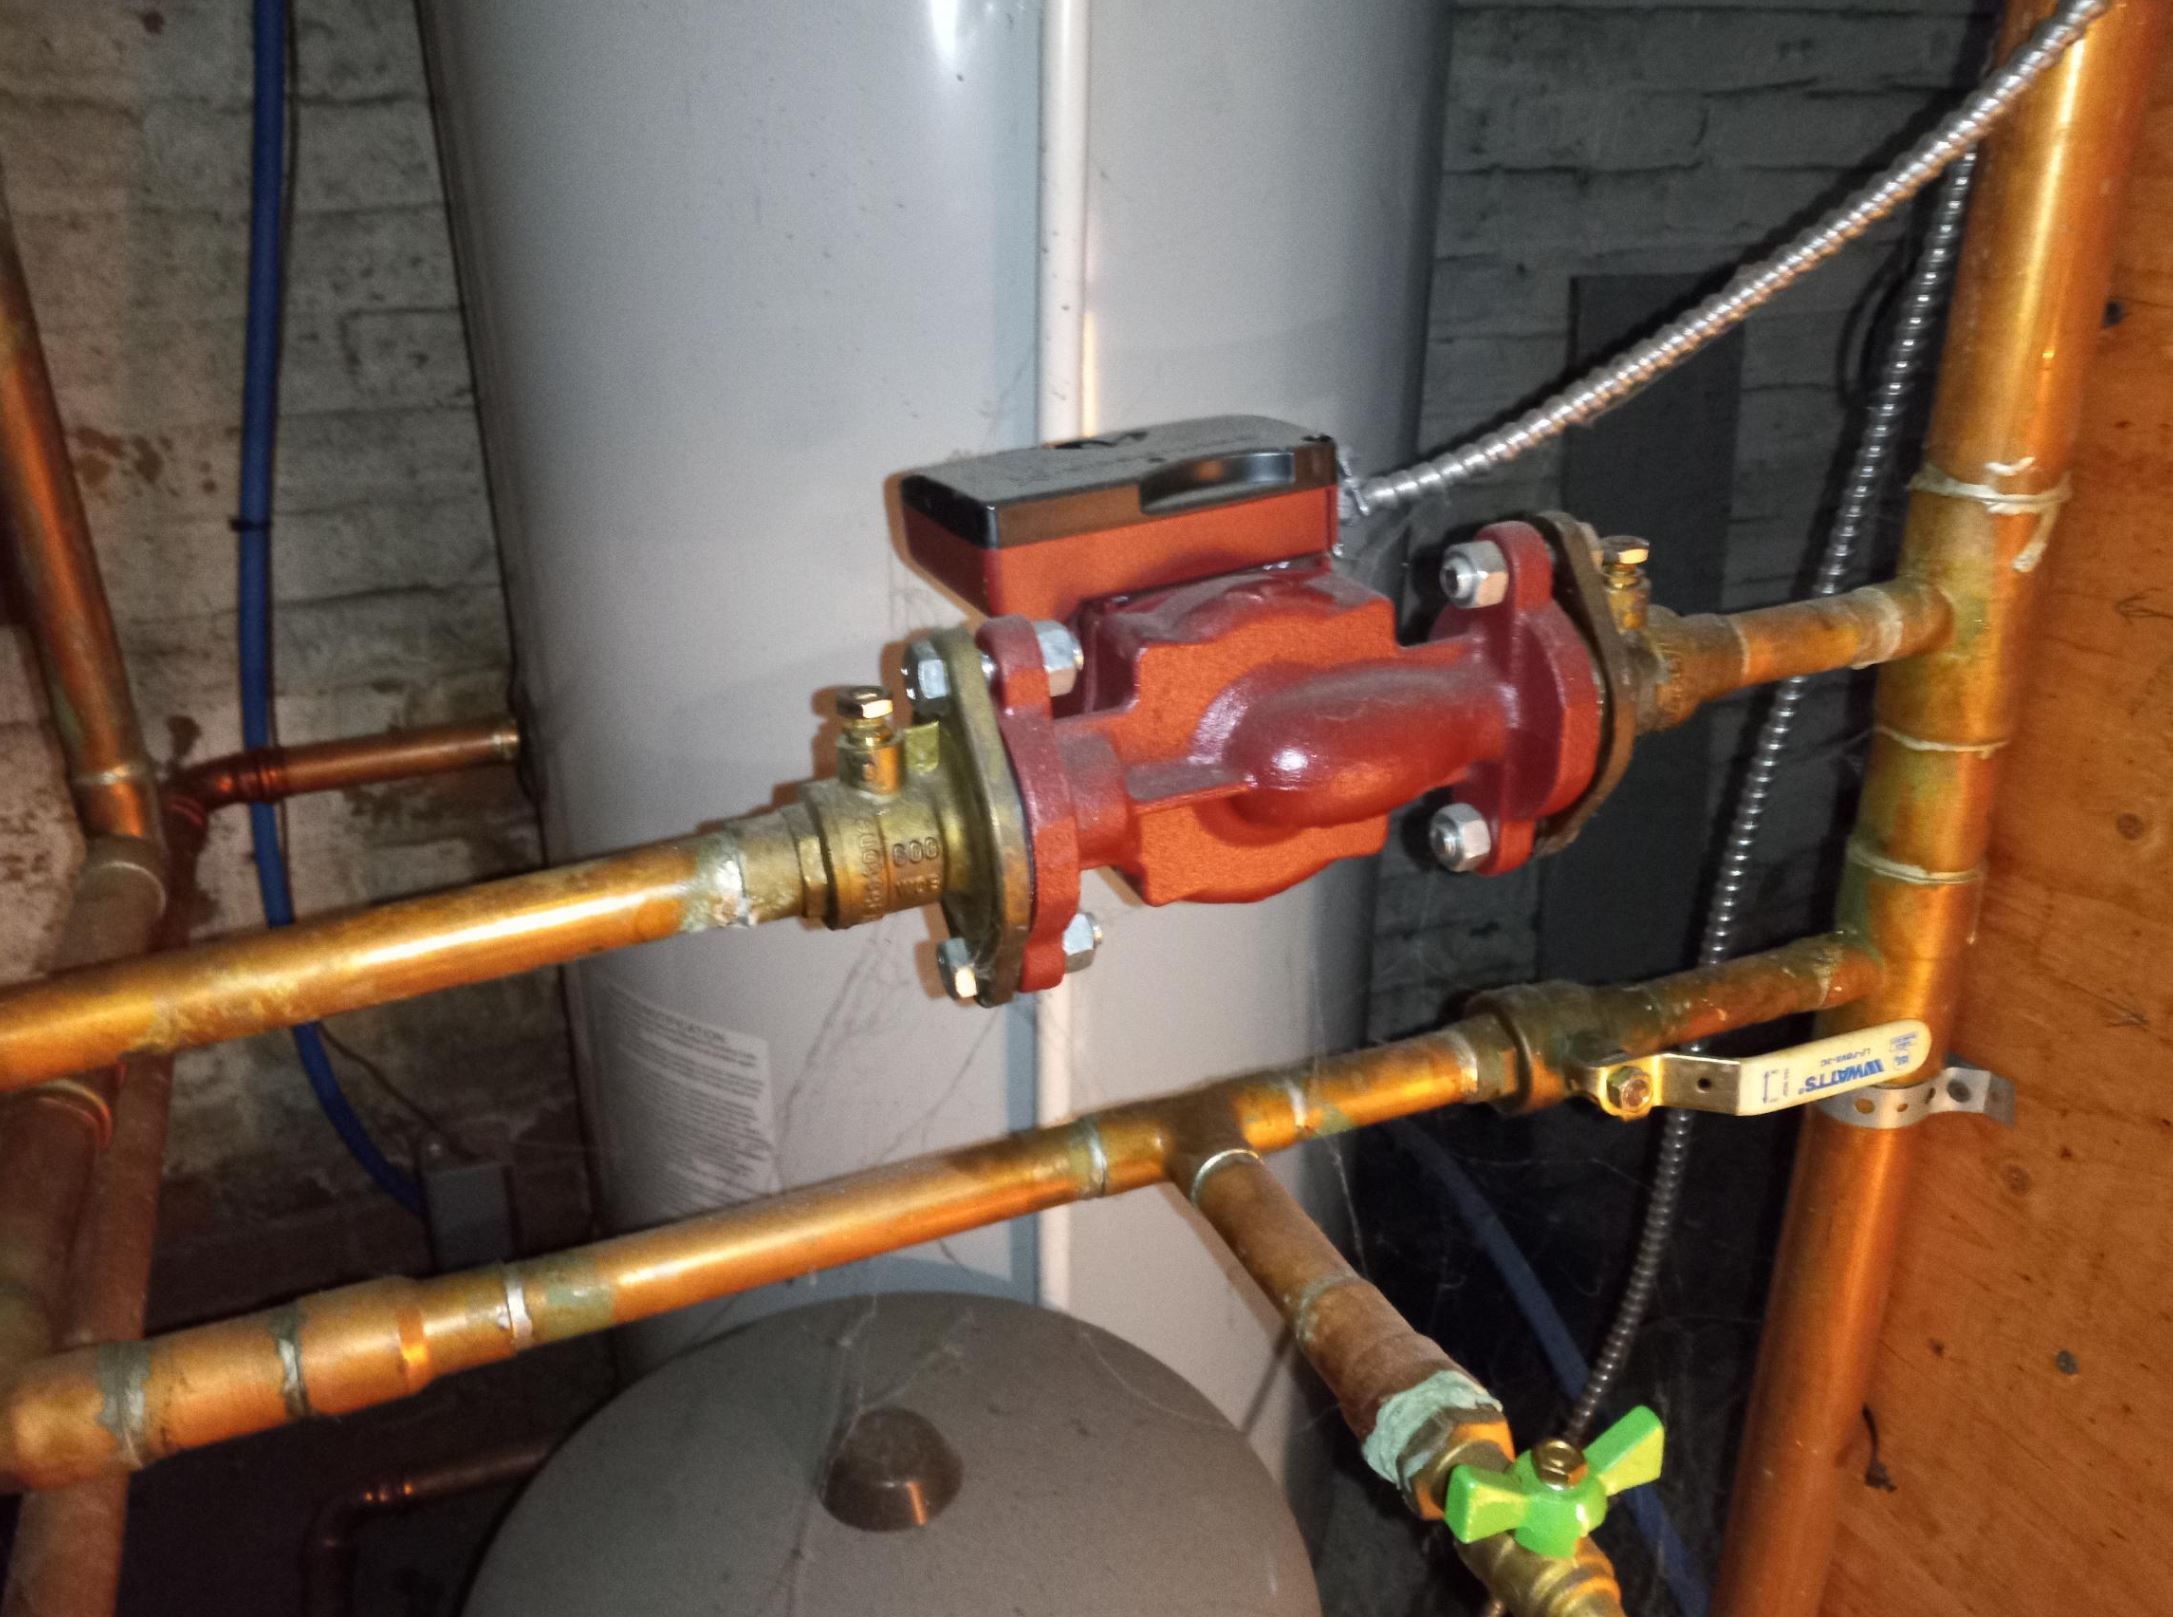
The 1st floor's zone (with red circulator pump) before changes.
Click to enlarge.
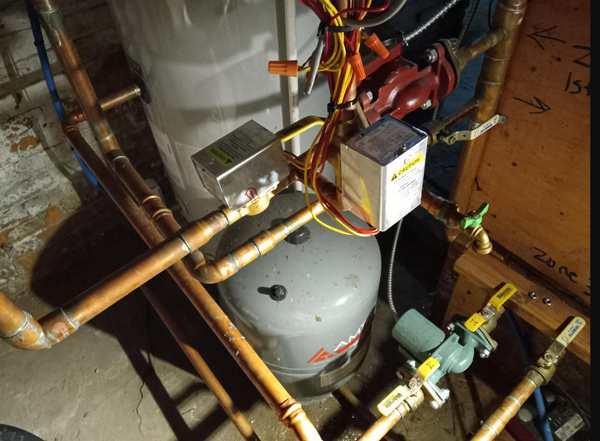
After changes. The two aluminum boxes contain motors for the two new zone valves. The pipe for the new zone rises through the top half of the photo and has wires zip-tied to it.
Click to enlarge.
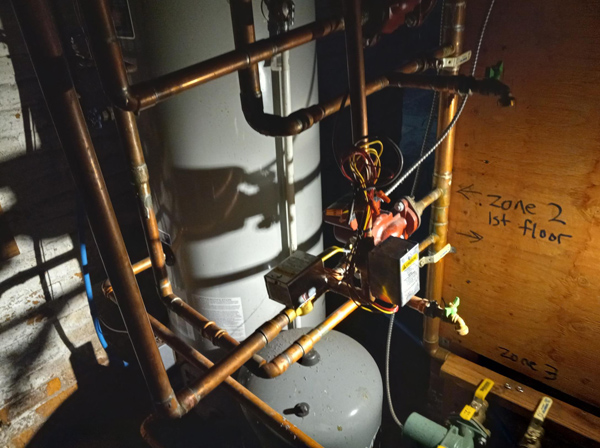
Another view of the new plumbing.
Click to enlarge.
For linking purposes this article's URL is:
http://asecular.com/blog.php?221023 feedback
previous | next |